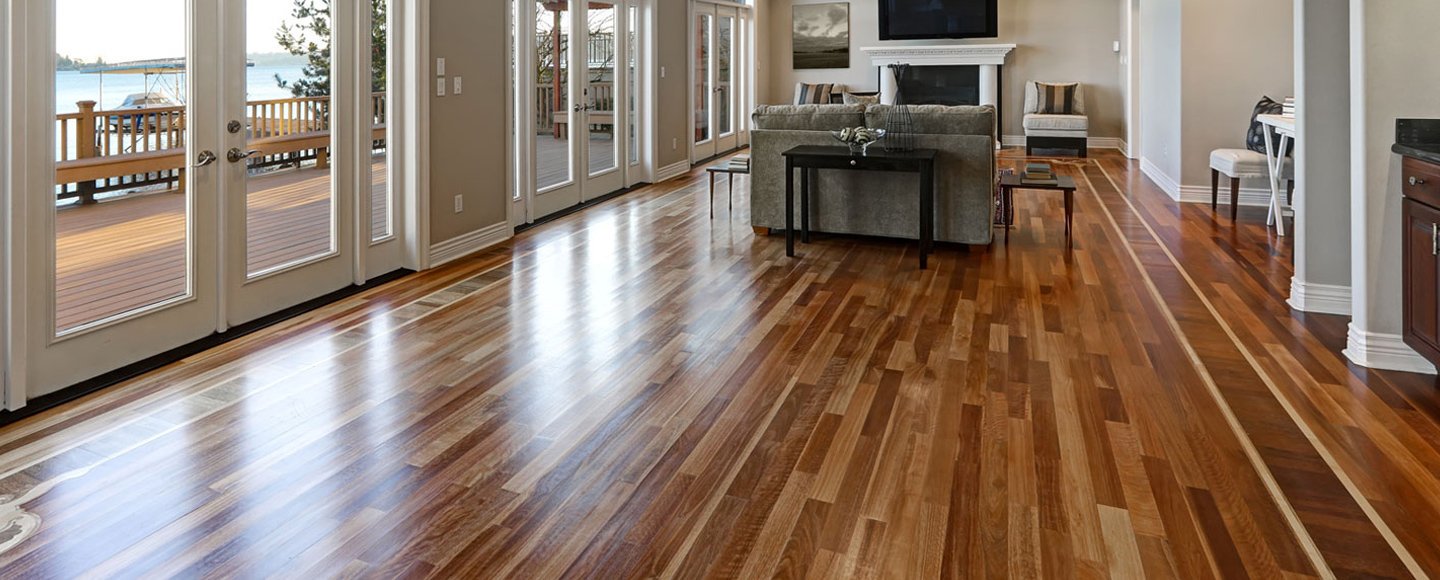
Wood floors are beautiful and timeless. They can last for decades, but if you’re like me and have inherited wood flooring from your grandparents, then you may have noticed that the finish has started to look dull and worn. If this is the case, then I’m going to show you how to make your floors look brand new again through top timber floor sanding in Melbourne.
1) Preparation
First, you’ll want to make sure your room is clean and free of clutter. Remove any furniture, rugs and anything else that isn’t nailed down.
Dust mop the floor to remove dust and debris. Clean the floor with a damp cloth to remove any dirt or grime that has collected on top of your wood floors during their time in storage.
When you’re done cleaning, let your wood floors dry completely before moving on to the next step.
If you want to add a little extra protection to your wood floors, you can use a coating of wax or polyurethane. Follow the instructions on the container to determine how much you need and where to apply it.
2) Sanding and buffing
The next step is to sand the floor, removing any remaining finish. This can be done by hand or with a belt sander. To use a hand sander, you’ll want to invest in a good one that can handle hardwoods; it should have variable speeds and an adjustable handle so you can reach into tight corners or around baseboards.
If you choose to use a belt sander, we recommend investing in a 4-inch model with variable speed control, which allows you to set the speed based on how fast or slow you need it to go while cleaning out those tough corners.

Remember: You don’t want your whole room getting dusty! So make sure all windows are closed before beginning this step—and watch out for flying debris!
Once the old finish has been removed from your floors (this may take several passes), buff them using either an orbital buffer followed by another pass with fine steel wool (for darker woods) or white rouge paste wax (for lighter woods).
Buffing will bring out their natural beauty as well as shine them up for finishing touches such as staining or sealing later on down the road once everything else is ready for prime time appearance-wise.
3) Staining, sealing and re-sanding (optional).
After sanding, you’ll want to stain and seal your floors. This will help protect them from damage and dirt, as well as make them look great. These are both optional steps, but they’re worth considering if you want to keep your floors looking good for years to come.
The last thing you’ll want to do is clean your newly installed hardwood floors. After they’re done drying, use a damp mop or cloth and some soap to clean them. Make sure that the soapy water doesn’t dry on any part of your floor; if it does, you may end up with streaks or other marks that will need to be fixed before sealing.
Conclusion
We hope that this article has helped you understand the process of timber floor sanding in Melbourne, as well as how to make them look new again. We know it can be a lot of work, but it’s worth it when you see the final result. Hire the right company like us- Prestige Floors. We offer unparalleled service for our clients with the best experts and the right tools.

