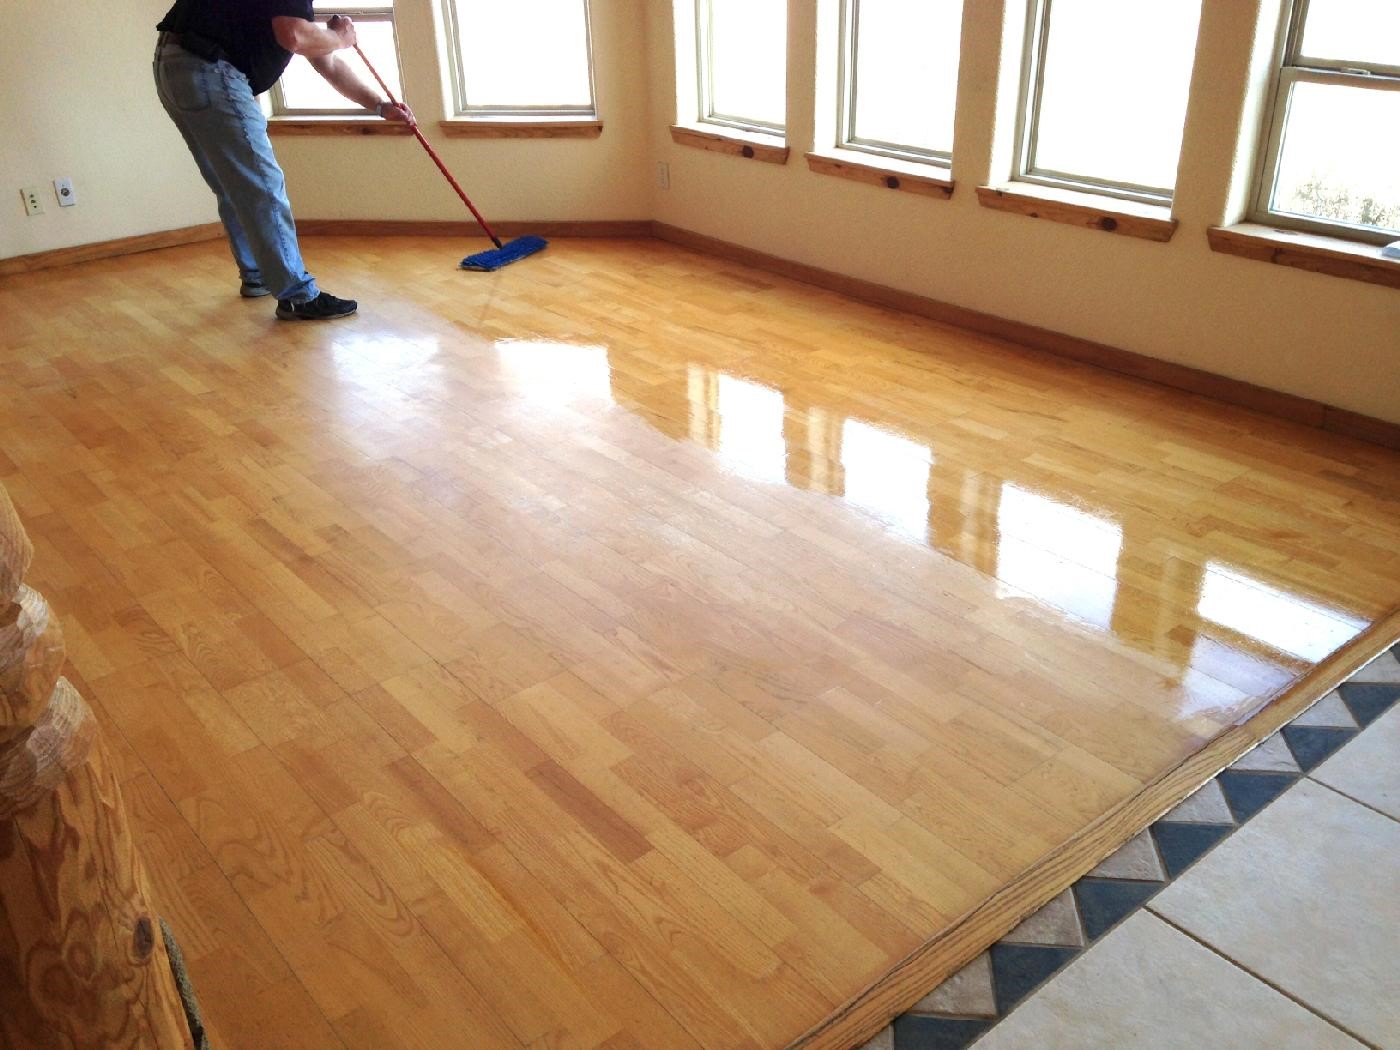
Welcome to our comprehensive guide on timber floor polishing! Whether you’re a homeowner or a business owner, this guide will help you understand the essentials of maintaining and enhancing your timber floors.
Polishing timber floors is crucial for both aesthetics and durability. A well-polished floor looks beautiful and lasts longer, providing a lasting impression and increased value for your property.
This blog aims to provide detailed information on how to polish timber floors effectively. By the end of this guide, you will have all the knowledge necessary to achieve a stunning and durable finish for your wooden floors.
What is Timber Floor Polishing?
Timber floor polishing in Melbourne involves sanding, cleaning, and applying polish to wooden floors to enhance their appearance and protect them from wear and tear. This process consists of removing old finishes, smoothing imperfections, and using a new protective layer on the floor.
Benefits
- Enhances appearance: Polishing brings out the natural beauty of the wood, giving it a vibrant look.
- Increases durability: A polished floor is more resistant to scratches, dents, and other damage.
- Protects against damage: The polish is a barrier against spills, stains, and moisture, preserving the wood’s integrity.
- Improves home value: Well-maintained floors add to your property’s overall appeal and value.
Tools and Materials Required
List of Tools
- Sanding machine: Essential for removing old finishes and smoothing the wood surface.
- Buffing machine: Used to achieve a high-gloss finish after applying the polish.
- Vacuum cleaner: Helps remove dust and debris during sanding and cleaning.
- Microfiber cloths: Ideal for wiping down surfaces and ensuring no residue remains.
Materials
- Sandpaper (various grits): To achieve a smooth finish, different grits are used at different stages of sanding.
- Floor polish (oil- or water-based): Choose based on the finish type and desired drying time.
- Sealer or varnish: Provides an additional protective layer over the polish.

Preparation Steps
Clearing the Area
Start by removing all furniture and other items from the area to be polished. Ensure proper ventilation by opening windows or using fans to circulate air.
Cleaning
Thoroughly sweep and vacuum the floor to remove loose dirt and dust. Then, wipe down the surface with a damp cloth to eliminate any remaining dust particles. This step is crucial to ensuring a smooth and even polish.
Step-by-Step Polishing Process
Step 1: Sanding the Timber Floors
Begin sanding with coarse-grit sandpaper to remove the old finish and surface imperfections. Gradually move to finer grits to achieve a smooth and even surface. Sand in the direction of the wood grain to avoid scratches.
Step 2: Cleaning After Sanding
Once sanding is complete, thoroughly vacuum up all the dust created. Use a microfiber cloth to wipe down the surface, ensuring no residue remains. This step ensures that the floor is clean and ready for polishing.
Step 3: Applying the Polish
Choosing the Right Polish
Oil-based polish provides a deeper lustre but takes longer to dry, whereas water-based polish dries quickly but may require more coats.
Application Technique
Apply the polish in thin, even layers using an applicator pad or brush. Work in small sections and follow the direction of the wood grain for a uniform finish. Allow the polish to dry completely between coats.
Step 4: Buffing for Shine
Once the polish is applied, use a buffing machine to achieve a high-gloss finish. Be careful not to over-buff, as this can cause damage to the wood surface. Buffing enhances the shine and smoothness of the floor.
Drying Time Considerations
Drying times vary depending on the type of polish used. Oil-based polishes usually take longer to dry, typically around 24 hours. Water-based polishes dry faster, often within 4 to 6 hours. For the best results, ensure to follow the manufacturer’s instructions.
Maintenance Tips Post Polishing
Regular Cleaning Schedule
Establish a regular cleaning schedule to maintain the beauty and longevity of your polished timber floors. Sweep or vacuum regularly to remove dirt and dust. Use recommended wood floor cleaners to keep the surface clean and polished.
Protective Measures
Place mats at entrances to minimise dirt and moisture brought in from outside. Use furniture pads to prevent scratches and dents from heavy furniture. These measures will help preserve the polished finish and reduce wear and tear.
Common Mistakes to Avoid
- Over-sanding: Sanding too much can excessively thin out the wood layer, leading to potential damage.
- Skipping cleaning steps before polishing: Failing to clean correctly can result in an uneven finish and reduced polish effectiveness.
- Not following manufacturer’s instructions: Each product has specific guidelines for optimal results. Ignoring these can lead to subpar outcomes.
Conclusion
Timber floor polishing in Melbourne is essential for maintaining the beauty and durability of your wooden floors. By following the detailed steps outlined in this guide, from sanding to applying polish and regular maintenance, you can achieve a stunning finish that enhances the appearance and value of your property.
At Prestige Floors, we pride ourselves on delivering top-notch flooring solutions that meet the highest standards of quality and craftsmanship. Our expert team is dedicated to helping you preserve the natural charm of your timber floors, ensuring they remain a timeless feature in your home or business.
