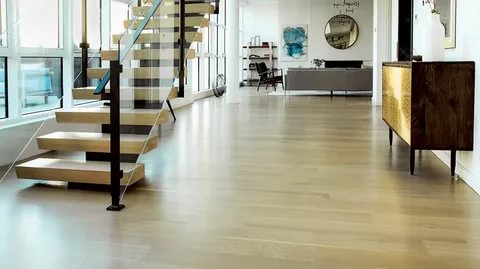
Floor Sanding in Melbourne is a great way to beautify your home, but it’s important to take the time to do it right. If you’re not careful, you could end up damaging your floor or spending more time and money than necessary on the project. To help you avoid these common mistakes when sanding floors, we’ve put together some quick tips for getting started:
Ask For Professional Assistance If Your Floor Is In Rough Condition
If your floor is in rough condition, it’s best to hire a professional. If your floor is in good condition, you can do it yourself.
If your floor is in rough condition and you decide to do the work yourself, be prepared for more expensive repair costs down the line due to extensive damage.
If you have a floor that’s in rough condition, it’s best to hire a professional. If your floor is in good condition and you decide to do the work yourself, be prepared for more expensive repair costs down the line due to extensive damage.
If your floor needs a major repair, you may need to replace some of the floorboards. This can be done by removing the damaged board and replacing it with one that is in good condition. If there are only a few damaged floorboards, they can simply be sanded down and refinished.
It’s important to note that these repairs should only be done by a professional. Not everyone has the tools or knowledge to safely handle such tasks.
Prepare For Sanding By Covering All Doors, Vents, And Outlets With Plastic Sheeting Or Painter’s Tape
- Cover all doors, vents, and outlets with plastic sheeting or painter’s tape.
- Covering doors and outlets will help keep the dust contained.
- Covering vents will keep dust from entering the house.
- Covering outlets will help keep dust from entering the house
Move All Furniture Out Of The Area
Before you begin the sanding process, you will need to remove all furniture and appliances from the floor. This means moving any tables, chairs, beds, dressers and other items off of your floors. It is also recommended that you remove all wall hangings such as paintings and photographs so that they are not damaged during the process.
Additionally, it’s important to remove any rugs or carpets from the area as well in order to avoid having them get caught up in your sanding machine’s blade.
Once everything has been removed from the room or area where you plan on doing construction work (or if no such construction will be taking place), then it’s time for step two: removing carpeting!
Sanding floors can be a task that’s both time-consuming and labor intensive. But rest assured, with the right preparation, you’ll be able to have your floor looking like new in no time. The first step is to use a large drum sander (or even better, an orbital sander), which will make it easier for you to sand away those pesky imperfections in the wood grain. Always go across the grain of the wood when sanding; if you go with it, you’ll end up with an uneven surface that looks like it was chewed on by mice!
Stop Occasionally To Vacuum The Floor To Remove Dust And Debris
- Vacuum every 20 minutes.
- Use a hand vacuum with a dust mask to get in and around the furniture that’s been moved out of the way, or use a shop vacuum with an extension wand if you’re working on a large floor.
- Use whatever tool you have available—a dustpan, brush, or mop—to clean up any debris as it accumulates while sanding.
- Don’t forget about your health! Wear a dust mask when vacuuming or sweeping up sawdust so that you don’t breathe any harmful particles into your lungs (you can also use an air purifier in conjunction with this method).
Sanding Can Be Done Successfully With Caution And Careful Preparation
Before you begin the sanding process, you’ll need to prepare your floor. First, choose high-quality floor sandpaper that suits your needs and has the necessary grit level. Next, cover the room with plastic sheeting to protect it from dust. The goal here is to make sure that what’s up top remains undisturbed by what’s going on down below.
Finally—and this is where most people trip up—you must have an exit strategy for all of those particles once they’ve been released into our shared atmosphere (your home). The easiest way to accomplish this is by vacuuming thoroughly before removing any protective sheets or moving furniture back into place; this will help keep dust levels low for everyone involved in your project!
Conclusion
As you can see, sanding floors is a big job. If you have time to do it yourself, make sure that you are ready for the task by gathering all of the necessary tools and supplies. If this seems too difficult or time-consuming, consider hiring a professional Floor Sanding in Melbourne who can help get your floor back in shape.

